Got my boogie dinged and pierced at its bottom. The ding was about 5 cm long, 3 cm wide and 5 mm deep. Leaving the board as is could lead to a high probability of delaminating (I think). See how I've got my bodyboard fixed surpassing all my expectations. To fix the ding I bought Rubberised Quck Fix from local surf shop in Toronto (ON) - SurfOntario, here are their repair kits. Very positive experience.
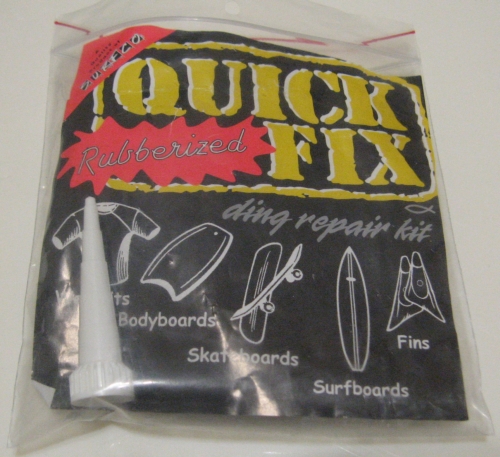
Here is how the package looks like:
Alternatively, you may try  Ding All All Blobb 10z Mini Tube Surfboard Repair - Flexible / Waterproof | eBay.
Rubberised Quck Fix is a transparent substance, it maintains some flex once it is cured. I suppose resin’s flexibility shall work better with somewhat flexible bodyboard’s surface than an ordinary epoxy.
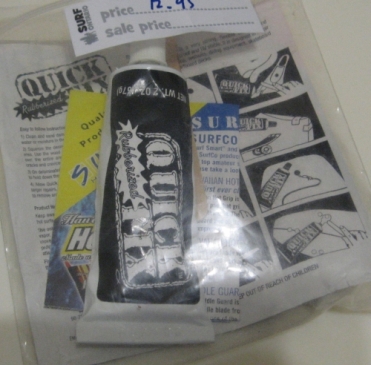
The package contains:
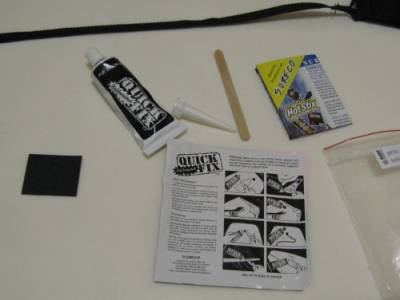
Sanding paper, tube with the resin, dispenser, applicator, instructions leaflet and an ad. Additional things I needed:
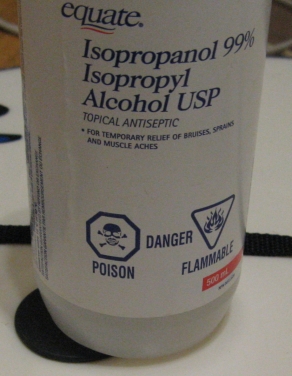
- Rubbing alcohol 99% - worked Ok to cleanup things and to remove the resin when needed.
- Guitar pick, a plastic card would do too.
- Gloves. I definitely needed gloves, as it was difficult to get the resin off my skin.
Some precautions first:
- The resin is very sticky and stretchy; it was sticking just to everything, including the applicator stick included in the package, but it is still removable with rubbing alcohol.
- Use only with adequate ventilation. - This is no joke, as the solution quite smelly.
- It would not work with styrofoam. No visible aggressive chemical reaction with my Bodyglove Method boogieboard.
Now the step-by-step instructions on how to fix a bodyboard ding with my comments, do it on your own risk, don’t take my words as an ultimate advice (it is my 1st fix so far):
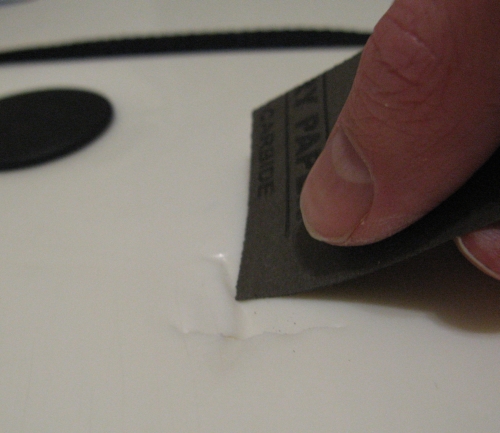
Clean and sand damaged area. Be sure there is no water or moisture in the area.
Easy enough, put the boogieboard on a clean solid horizontal surface, put something underneath to compensate the rocker. In my case a stack of magazines worked just fine.
To clean up the damaged board surface sanding paper from the package and some cotton with rubbing alcohol worked just fine. Let the alcohol fully evaporate before taking the next step.
Squeeze the desired amount of Quick Fix onto the area. Use wood applicator to spread the Quick Fix over the entire area, pressing out all bubbles, filling cracks and crevices.
That was tricky as the resin was bubbling and sticking to the applicator like crazy. Good news – it was easy to scoop the whole thing out, repeat the cleanup step thoroughly, and re-apply another portion of the Rubberized Quick Fix resin afterwards. Waiting about 5 minutes after application would have made things little bit easier to manage.
Using dispenser was prone to adding bubbles. I ended up squeezing the thing right from the tube, without dispenser, and slightly shaping it with the guitar pick around the filled edges. I did get solution off the pick by cutting the resin with the edge of the pick against board’s surface.
3. On delaminated surfaces, use heavy weight or tape to hold down the surface while it cures. Not my case (yet?). But I can imagine it will work well in this case, as long as you won’t have to move the resin around too much.
4. Allow Quick Fix to cure overnight and 24 hours for larger repairs. Quick Fix to be sanded after it is cured to remove any excess or raised areas.
Once applied as a perfectly surface match, the resin somewhat repeated 3d shape of the ding once settled overnight. So I needed to apply 2 more layers once previous ones were dried in about 20 hours each.
Once the last layer finally cured, I did some sanding. The supplied sanding paper #101 did quite well, but I had to be extremely carefull with the patch edges not to go to the undamaged plastic too much. Also tried very fine grain #2000, but its effect was not quite noticeable and the resin tend to pelletize, slight amount of water did help to stop it, but I don't think that fine-sanding had much sense.
Now, the only thing left is to slapp a sticker, and to be done with it!
It looks quite solid now, will see how it will hold after several rides.
// Mar. 9, 2012
Update: The fix stood up to my expectations and even more. I ended up slapping a bumper sticker with Canadian maple leaf to cover the patch. The patch and the sticker withstood freshwater and saltwater for 2 more seasons, before mighty Atlantic made the whole board crease. The board was still working, but I could feel it bending on take offs, so I ended up giving the board to a random family on a beach in Spring 2016. I hope their kids still enjoy it. :-)
|